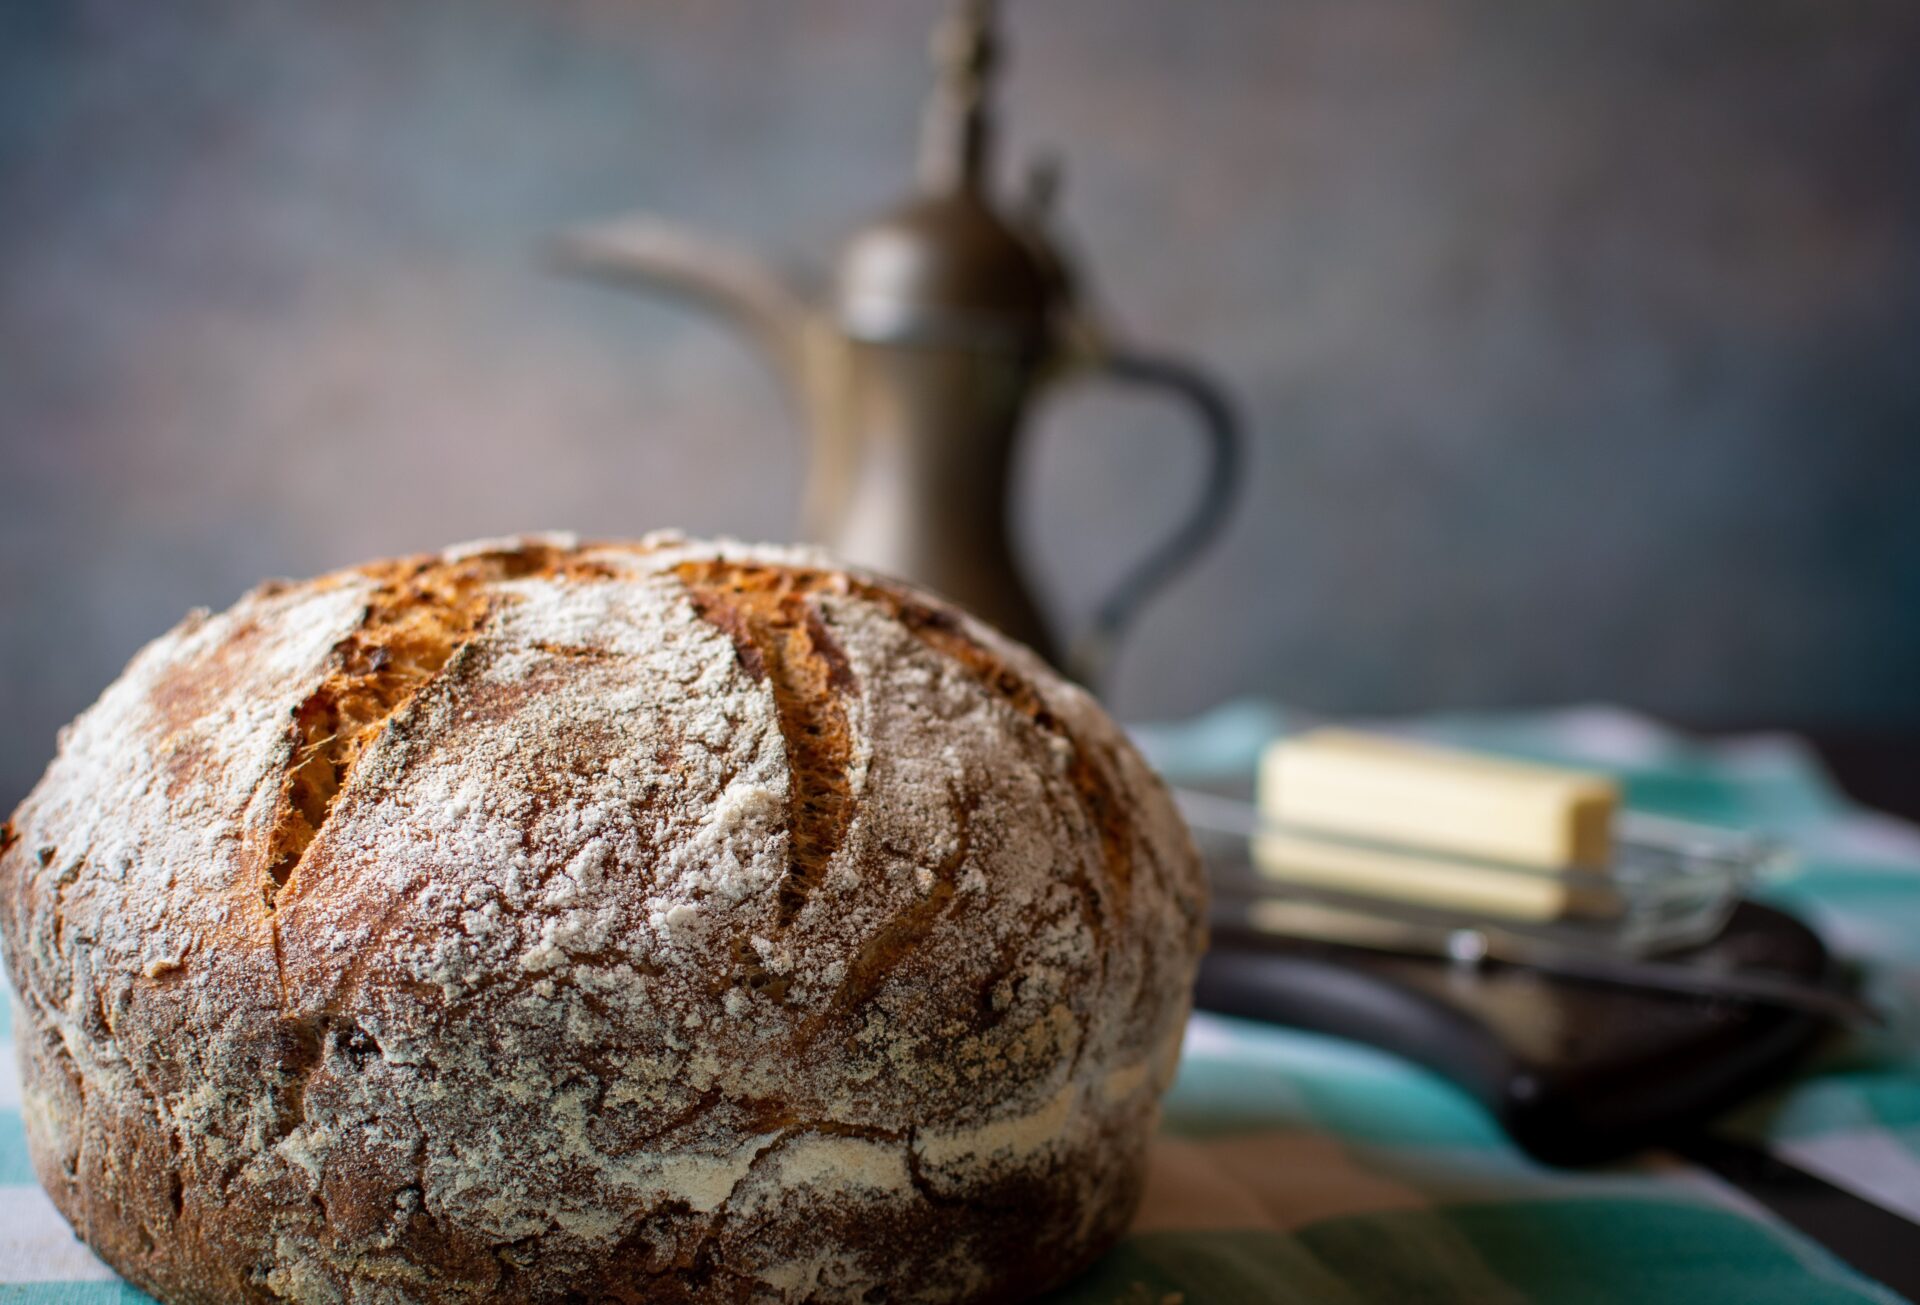
Simple Country Sourdough Bread Recipe

Eric Pallant ’80, author of Sourdough Culture (Agate), offers a simplified variation of sourdough superstar Chad Robertson’s Tartine Country Bread.
Ingredients:
1½ cups sourdough starter
3¾ cups water
6½ cups white-bread flour
¾ cup whole-wheat flour, plus more for dusting*
1 tablespoon salt
¾ cups rice flour
* Feel free to substitute other flours for the whole wheat: spelt, buckwheat, rye, etc.
Preparation:
1. Begin feeding your starter the day or night before you want to bake. You will only need about a cup of starter, but you will want it ready and active when it is time to assemble.
2. Make the dough. In a large bowl, combine 1½ cups of mature starter with 3 cups of water (warmer water will hasten your rise, but is not at all essential) and stir to disperse.
3. Add 6½ cups of white-bread flour (bread flour really does make better bread than All Purpose Flour) and ¾ cup of whole-wheat flour to the bowl and use your hands to mix until no traces of dry flour remain. The dough will be sticky and ragged. Cover bowl with a towel or plastic and let rest for 25 to 40 minutes at room temperature.
4. Add 1 tablespoon salt and ¼ cup warm water. Use hands to integrate salt and water into dough thoroughly. The dough will begin to pull apart, but continue mixing; it will come back together.
 5. Cover bowl with towel or plastic. Robertson says keep it warm, like 75 to 80 degrees, but again I haven’t found careful temperature control to be essential. Approximately, very approximately, every half hour, stretch and fold. Dip your hands in water and with a wet hand grab the underside of the dough, stretching straight up until the point just before the dough rips. You are extending strands of gluten, but do not want to tear them. Fold the stretched portion of dough over the remaining bulk. Rotate the bowl a quarter turn and stretch and fold from each quadrant. As you stretch and fold, the dough will become more resistant to stretching. Each time you return, as the gluten builds, the dough will stretch farther. It really is kind of amazing.
6. Over the course of 5 to 8 folds (2½ to 3½ hours), the dough will become noticeably less sticky and puffier. It might even begin to form raised bubbles at the surface. That’s a good sign.
7. Transfer dough to a work surface and dust top with flour. Divide the dough into two equal pieces if you want to make two loaves. Work dough into taut rounds, folding the cut side of each piece up onto itself so the flour on the surface remains entirely on the outside of the loaf; this will become the crust. Place dough rounds on a work surface, cover with a towel, and let rest 30 minutes.
8. Mix ¾ cup whole-wheat flour and ¾ cup rice flour, or just use rice flour. Line two 10- to 12-inch bread-proofing baskets or mixing bowls with towels. Use some of the flour mixture to generously flour towels.
 9. Shaping is difficult and learning from written instructions is a bit like learning shoelace tying from a verbal description. Nevertheless, the goal is to create a tightly stretched surface that will become the bread’s top. Begin with floured side of your dough down on your work surface, pat the dough gently to flatten it a bit, and taking the side closest to you, pull two corners of the dough toward yourself. Fold them up one-third of the dough’s length so the edge lands roughly in the middle of the dough. Repeat this motion on the right, left, and top of the dough so all the folds cover one another in the center of the dough. Flip the dough so the creases are now on the bottom and do your best to stretch the dough now on top, pinching the pulled dough together underneath.
10. Transfer rounds, seam-side up, to floured baskets. Cover with a towel and let the dough rise 3 – 4 hours (or 10 – 12 hours in the refrigerator, bringing the dough back to room temperature before baking.)
11. About 30 minutes before baking place a Dutch oven or cast-iron pot in the oven and heat to 500 degrees. Remove the heated pot from the oven and spray with spray oil and/or dust the tops of the raised dough with whole-wheat/rice flour. Turn the loaf over into the pot, seam-side down. Score the new top several times with a lame, razor blade, or serrated knife to allow room for oven spring. If the pot is too deep and you are worried about burning yourself or your find that scoring deflates the dough too much, skip it. Your bread will be fine and turn out very rustic looking.
12. Bake covered for 20 minutes and uncovered for 20 minutes. Place on a cooling rack when the bread is a golden brown. The loaf will sound hollow when you thump its bottom.

13. Repeat for the second loaf, or, if your towel-lined bowl or proofing basket and Dutch oven are large enough, just make one really big loaf, baking it 30 minutes covered and 20 minutes uncovered.
14. Now the hard part: Wait at least 15 (preferably 30 minutes) before diving in.
To learn how to make your own starter, see Pallant’s recipe for sourdough starter. Read more about Eric Pallant ’80 and other Wesleyans taking an interdisciplinary approach to food in Life Is Like a Sourdough Starter.


